
Project Setup: Creating Projects in Rapport
Creating Projects in Rapport
Build immersive, AI-powered experiences with ease—no setup stress, no guesswork.
With Rapport’s simplified UI and pre-configured templates, creating a project is faster and more intuitive than ever. Whether you're building a voice assistant, character demo, or full interactive experience, the platform guides you through every step.
Start Here: Project Creation Flow
All projects begin inside a Workspace—your central hub for collaboration and asset management. To create a project:
Go to your Workspace
Click the large Create New Project button
Select an Application Type:
Web Page
Web Widget
Unreal Plugin
(Unity – Coming Soon)
For a comparison of the application types Web page vs Web Widget click here
You’ll be taken directly to Project Settings, where you can configure your experience using a pre-configured template
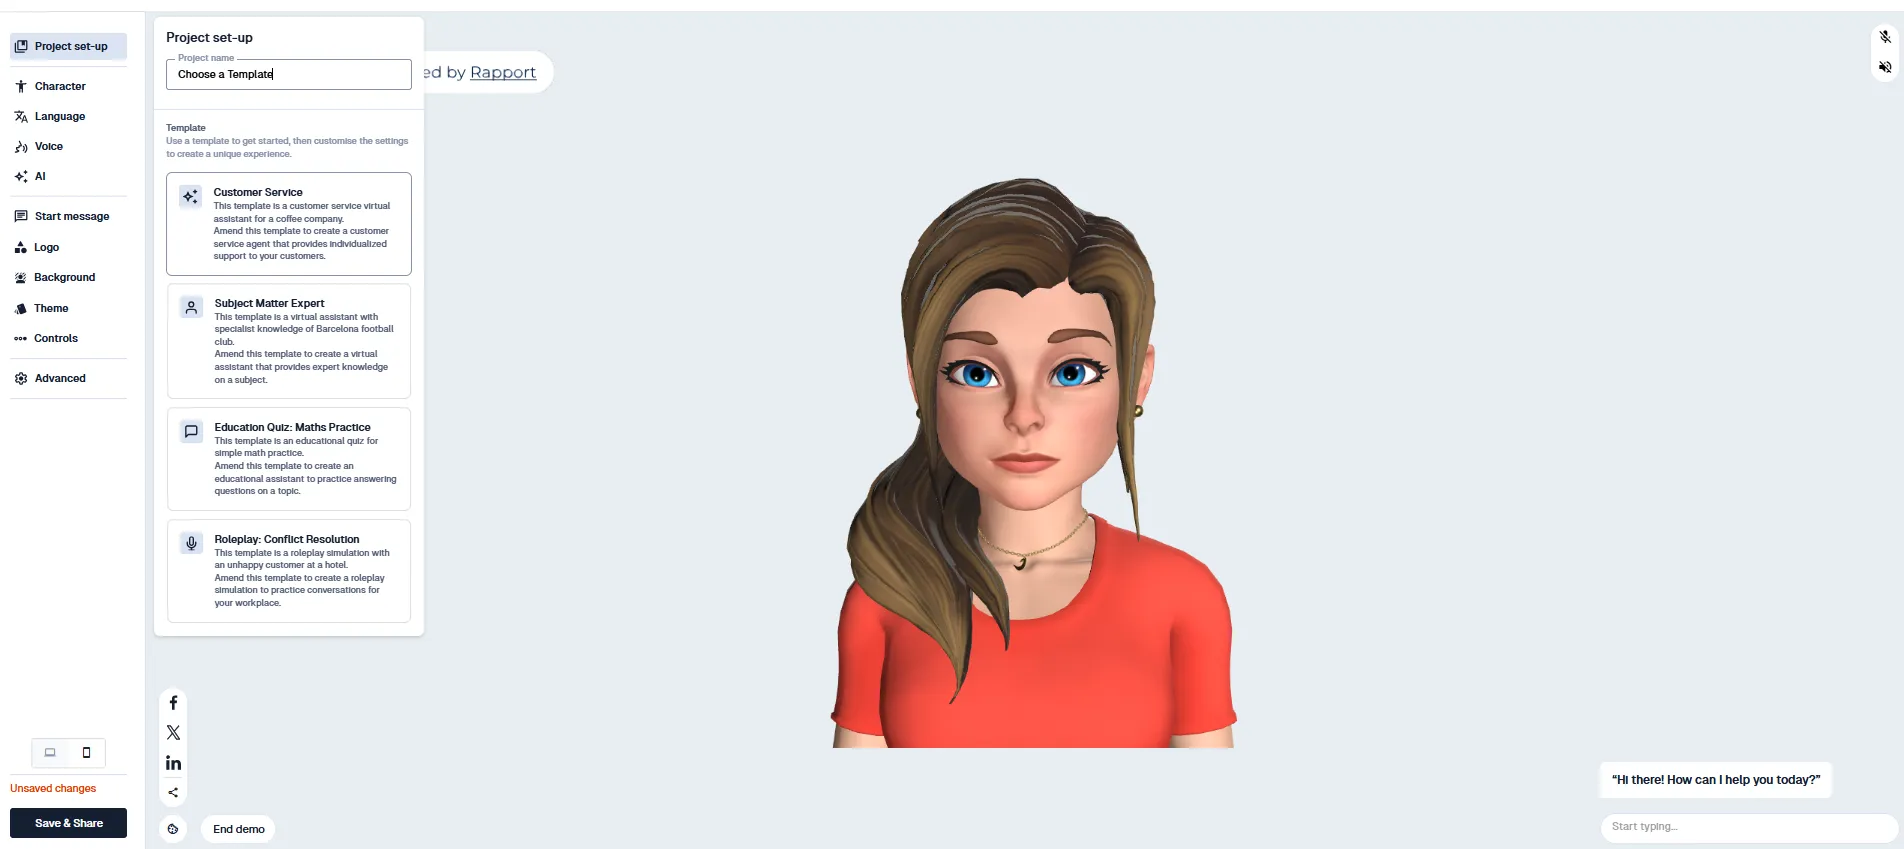
What You’ll Configure in Project Settings
Each project starts with a template, designed to help you get started quickly and easily. You can customize every detail later to fit your unique use case. No setup headaches. Just choose a template, interact immediately, and customize when you're ready.
Inside Project Settings, you can configure:
Project Name – Give your experience a unique title
Template – Choose a layout and interaction model as a starting point
Character – Select a visual avatar, from Ready Player Me to Metahumans
Language
Voice
AI Service – Choose your backend AI (e.g., OpenAI, Gemini, Groq)
Layout Options – Set background colour, images, branding, and logos
Advanced Settings – Access full configuration for:
AI: Model type, response behaviour, prompt templates
Speech-to-Text (STT): Configure transcription provider and accuracy settings
Text-to-Speech (TTS): Choose from multiple voice providers and languages
The menu on the left-hand side will adapt depending on your selected Application Type, ensuring you're only shown relevant options for your build.
For Web Page and Web Widget Applications
These experiences are hosted in a browser or embedded into your own platform. Design tools are intuitive and flexible:
Characters: Choose a character to bring your interaction to life. Rapport supports Ready Player Me avatars and Metahumans via cloud rendering. (Support for custom characters is coming soon.)
Voice: Pick from a wide range of Text-to-Speech (TTS) providers. Filter by language or voice type and preview in real time.
Background: Customize the visual setting of your scene—use a solid colour or a transparent background for seamless embedding.
Content Creation Tools: Build dialogue flows, prompt logic, and AI behaviour. Upload custom audio or write your scripts directly inside the editor.
For a comparison of the application types Web page vs Web Widget click here
For Unreal Plugin Applications
Unreal integrations give you deep control over performance and visuals.
Character Config: Select the rig type for your character. Rapport provides a default Metahuman configuration. If you need support for custom rigs, reach out to the team for compatibility advice.
Voice: Choose and preview voices from TTS providers. Although the Unreal preview doesn’t display animations, the voice can still be tested and will trigger a visual speech cue.
Full details on Unreal Plugin can be found here
Save and Share (Web Page and Web widget)
Once your project is configured and designed, you can test and share it:
For Web Projects:
Create a Shareable Demo Page with your own branding
Instant Preview shows your interaction in real time
Seamless Embedding lets you place your experience directly into your website or platform
Save and Integrate (Unreal)
For Unreal Projects:
Once you've configured your Character Config and Voice, and previewed the output, you can proceed to the next step Save & Integrate for Deploy Token Management and final integration into Unreal Engine.